


How to plan, shoot and edit a Composite Image in 15 mins
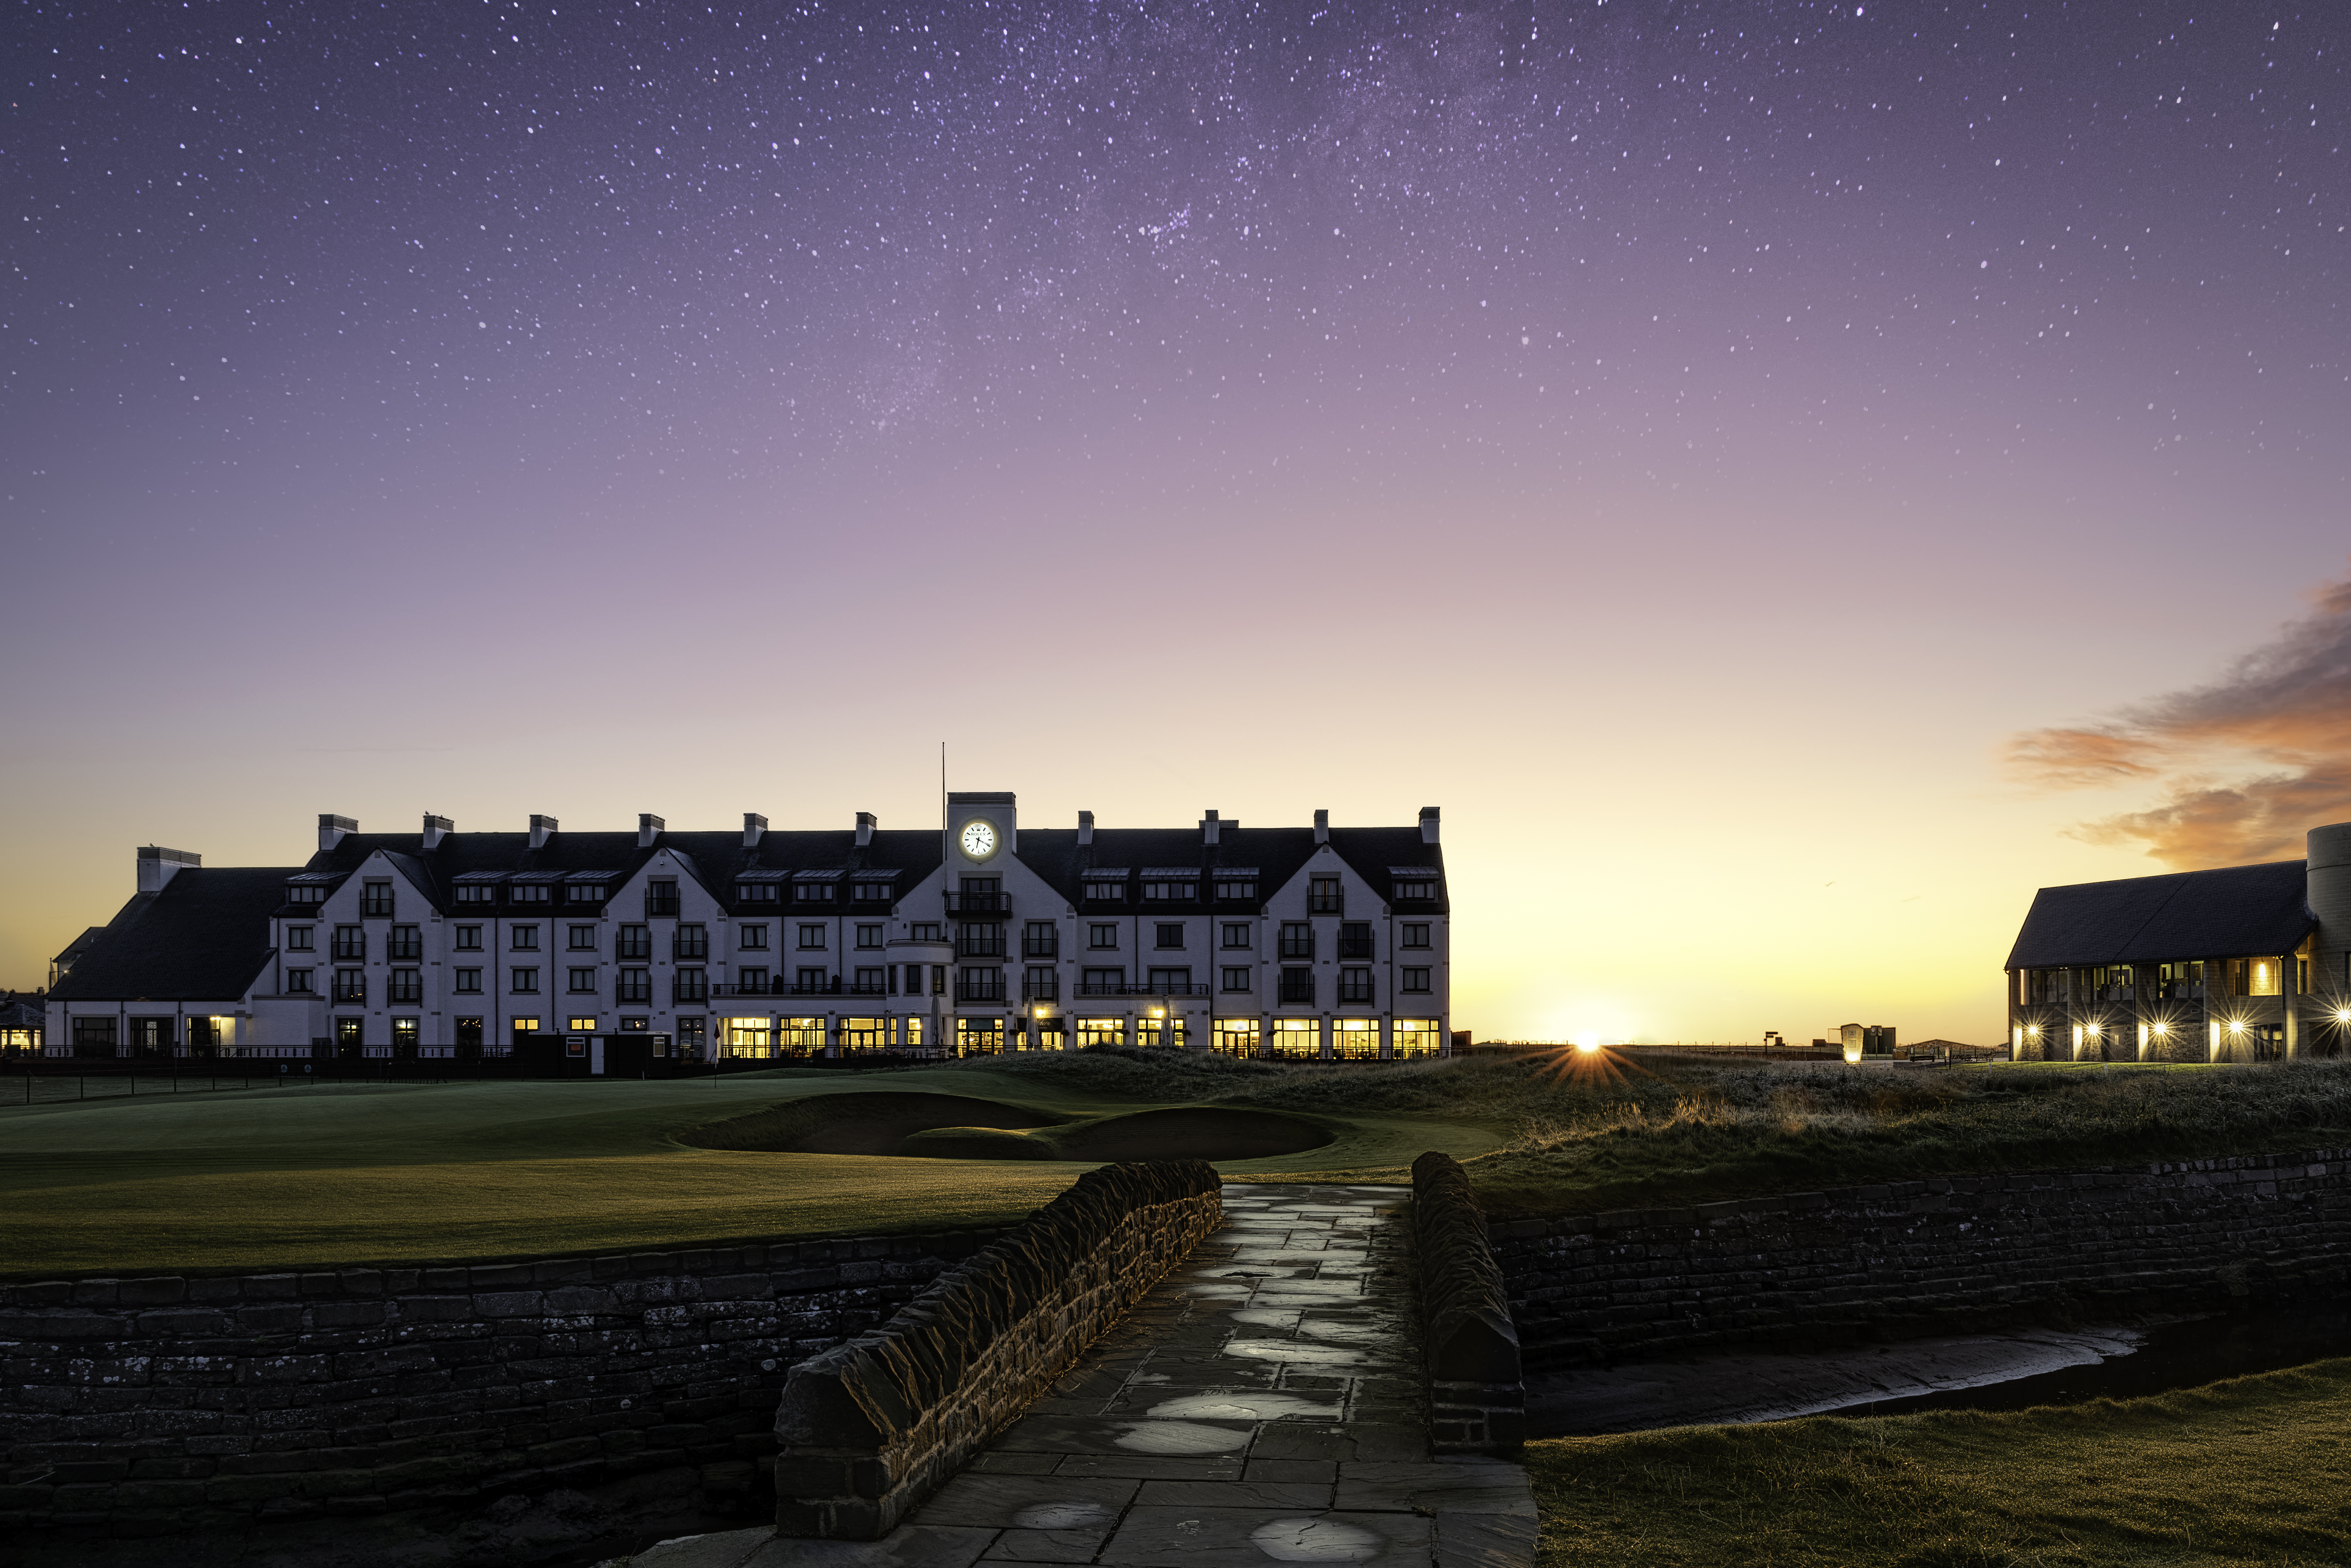
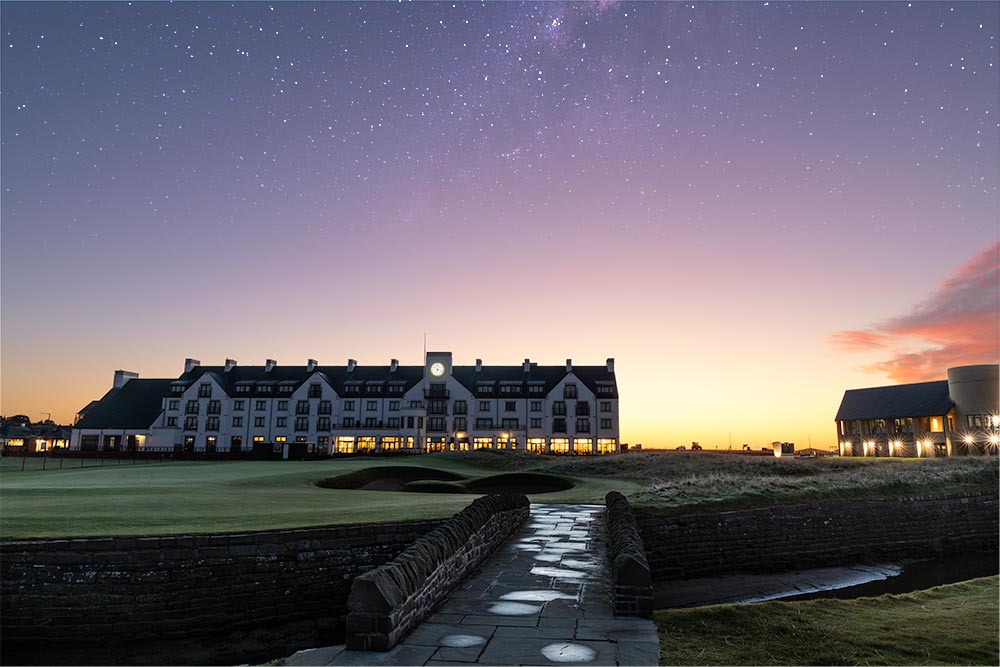
In this tutorial, I am going to walk you through the steps I take to create a time composite image. In particular, this one here:
I will break this down into three specific parts, and this whole article will only take you 15 minutes to read. You should then grasp the fundamentals of creating a stunning time composite of your favourite subjects.
Plan your Image
It’s all well and good having an idea. However, you need to plan how you’re going to get that image in your head into a single photo. I start by picking a location/subject I want to capture.
To do this, you can go and scout the location as I have done here. Take a snapshot of the composition you want to capture.
This image was taken with a small mirrorless camera that I take when I go scouting. It’s lightweight, and I can get the focal lengths that I need to convert to full-frame sizes. So I now know what lens I need to take with me when I do the actual shoot.
Once you know your location and possible compositions, then plan your timing.
I use a few apps for planning, the primary one being Photopils for iOS and Android. This app is used to plan where the sun will come up or go down. Also where the Milky Way will be at any particular time; if I can get a shot of that too then all the better. I also use Clear Outside for iOS and Android to look at cloud levels and the opportunities for dramatic skies.
When I plan for timings, I look for several things; clear skies before or after sunrise or sunset respectfully. This allows me to get stars in the night sky, it’s not a deal-breaker but a nice to have. I check for the time of sunrise or sunset and aim to be at the location around 1.5 – 2 hours before sunrise. For sunset, I aim to get there only an hour before sunset as most of the nice light and street lights come later.
For planning, you now have an idea of your composition. You know what focal length you’ll be shooting at and where the sun will be and potential stars. It’s also a good idea to scout at these times to check the light situation; sometimes street lights go out a long time before sunrise and hotel lights are sometimes better later in the morning than at 4 am when everyone is sleeping. Just have a good idea what to expect, there is nothing worse than turning up and having a huge floodlight right where you didn’t expect it!
Gear you will need to plan: Small Camera (even a phone) and the Apps mentioned above.
Shoot your Image
The single most important thing you need for the shoot is a sturdy tripod. Making a composite image requires multiple shots of a composition without the camera moving, so having a good, sturdy tripod is a must. With my composite here, I planned to be at the shoot location 2 hours before sunrise. I didn’t expect to be doing much shooting after sunrise, so this was probably only going to take 2.5 hours to do the full shoot. Now, sometimes (depending on where you are) it gets much colder in the morning before sunrise, and you will be doing a lot of hanging around, so wrap up warm if you are in that kind of climate.
I knew from my scouting shot that using a crop factor APSC camera at 11mm; I would need my 16-35mm lens to capture the composition I had in mind on a full-frame. (11mm x 1.6 = ~18mm). I also brought my 24-70mm just in case (it being f2.8, capturing stars if they were out would be much easier).
When I arrived at the location, I had only scouted days before; I found that a golfing tournament was taking place. This meant where my original shoot spot was planned; there was now a massive scoreboard. So, I had to change my composition a little, but this turned out for the better as when I scouted I couldn’t use this position as it infringed a path that was being used by golfers at the time.
I set up my tripod and composed the shot. I also attached my shutter release remote and started to take the shots. The first shot is to capture the dark sky and the lights of the buildings. I always shoot composites in brackets of one, two stops below, one exposed correctly and one, two stops over, this helps with the wide variety of lights at twilight and blue hour.
I was happy enough that the hotel restaurant was lit up as the chefs started to prepare breakfast. The nearby changing rooms and function areas were also lit up with artificial lights. When taking shots of artificial lights, I ensure I have enough dynamic range to capture the lights without blowing them out. This means you might have to take a few images at different ISO’s / Shutter Speeds to get the right detail without blowing any highlights out depending on your camera. At this point, you might also want to take a shot at a high aperture (e.g. f/22) to get some starbursts of the larger lights in the scene. I knew that the artificial lights that I wanted to capture starburst for would remain on until sunrise so that I could capture the starburst of the sun and those lights all in one shot.
Now it’s time to keep warm. Continue to take shots as the light changes, once twilight starts to end you will likely get a red/orange/yellow glow at the horizon on a clear morning. All of my shots at this point are taken at f/11 which is the sweet spot for sharpness on the lens I was using (16-35mm f/4, with image stabilisation, turned off)
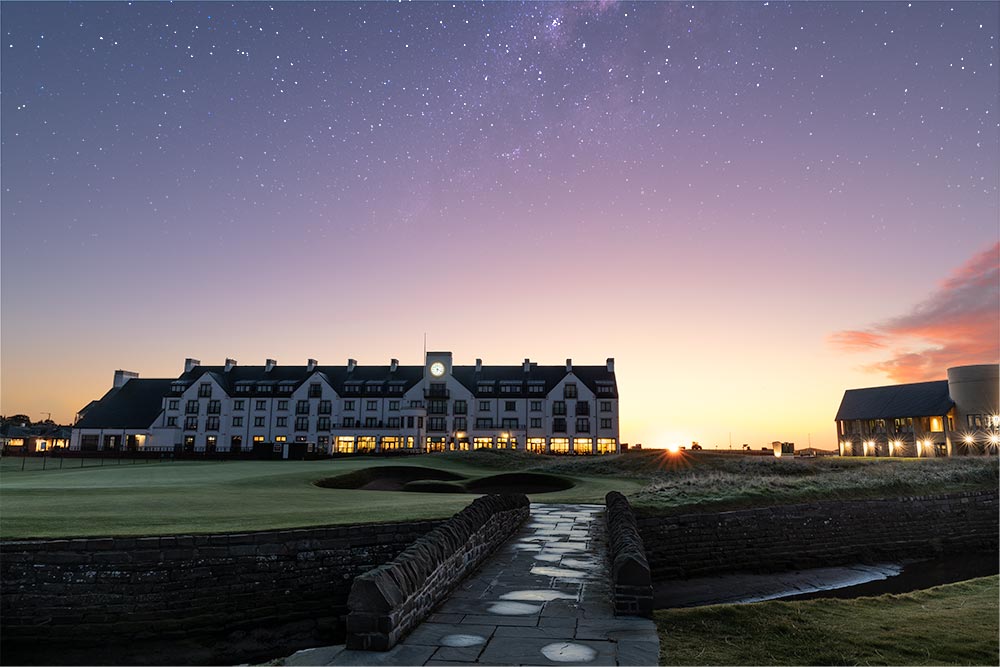
As the sun rises, continue to take shots as the sun creeps over the landscape and brings everything to life. Also, remember to take a few shots with you covering the sun with your finger, this will enable you to blend without sun flares in your image.

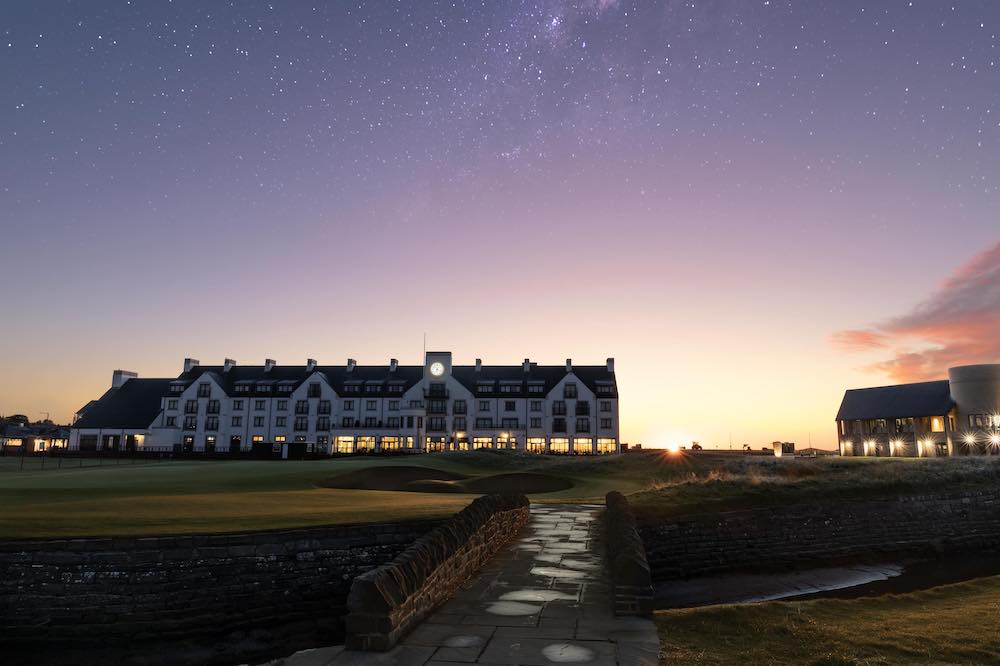
On this occasion, I hung around until the sun warmed up the ground in front of me, including the putting green and the bridge. Once I was all done, I packed up and headed home for the edit.
Gear required for the shoot: A good tripod, your main camera, the lens you planned to use and possibly a backup with a different focal length in case things have changed. Also take warm clothing, a cable release, filters (optional but as I was shooting into the sun a polariser would be worthless and a grad filter would have interfered with my horizon) and a snack/drink.
Edit the Image
Now that you have arrived home, go ahead and download all of your captured images into Lightroom. Order them by time and start to go through each set of captures and look for the following:
- An image that captures the night’s sky and possibly some stars (easy to blend form another location in or create artificially).
- Take a good shot of artificial night lighting.
- Wait for a good blue hour shot.
- A good pre-sunrise/post-sunset shot.
- If you have sun rays, a nice sunrise/sunset shot (one blocking the sun with your finger).
- A shot where the golden light is best.
This will give you what you need, so go ahead and rate them all three stars. Now filter your catalogue by those with three stars and above.
Now you have the shots you will use. Before we head over to Photoshop, there are several things I do first in Lightroom, and that is:
Remove Chromatic Aberrations
Apply the Lens Correction Profile
Set sharpening to 0.
I do this in one image and then click sync so the rest can sync to that one.
Next is to open them in Photoshop, select them all in Lightroom and right-click (control-click on a Mac) then Edit In -> Open as Layers in Photoshop.
Once Photoshop has opened them (good opportunity to put the kettle on), then arrange the layers from the bottom up as follows:
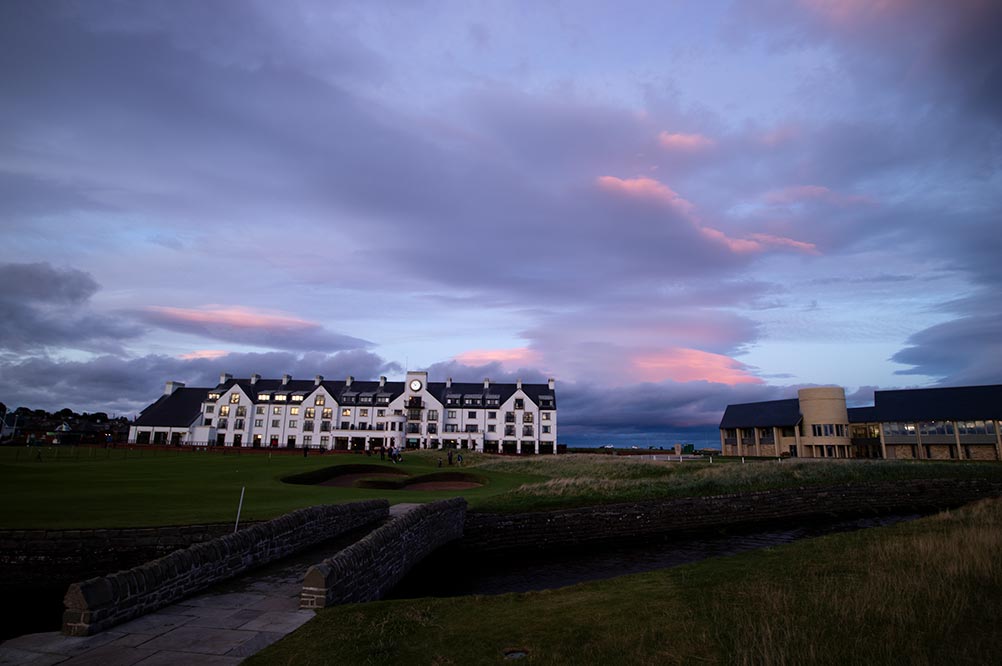
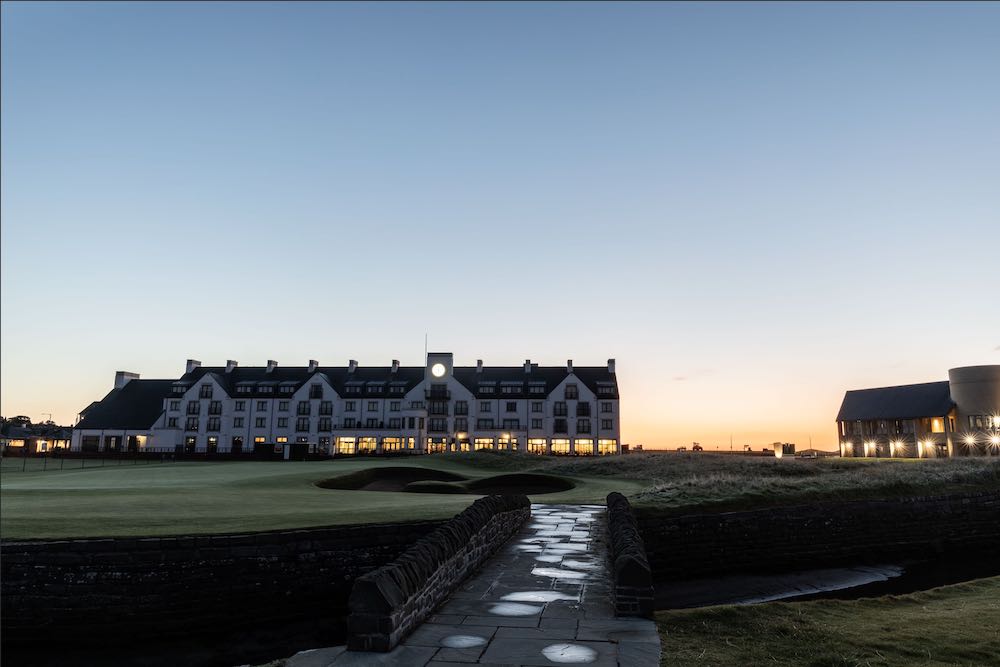
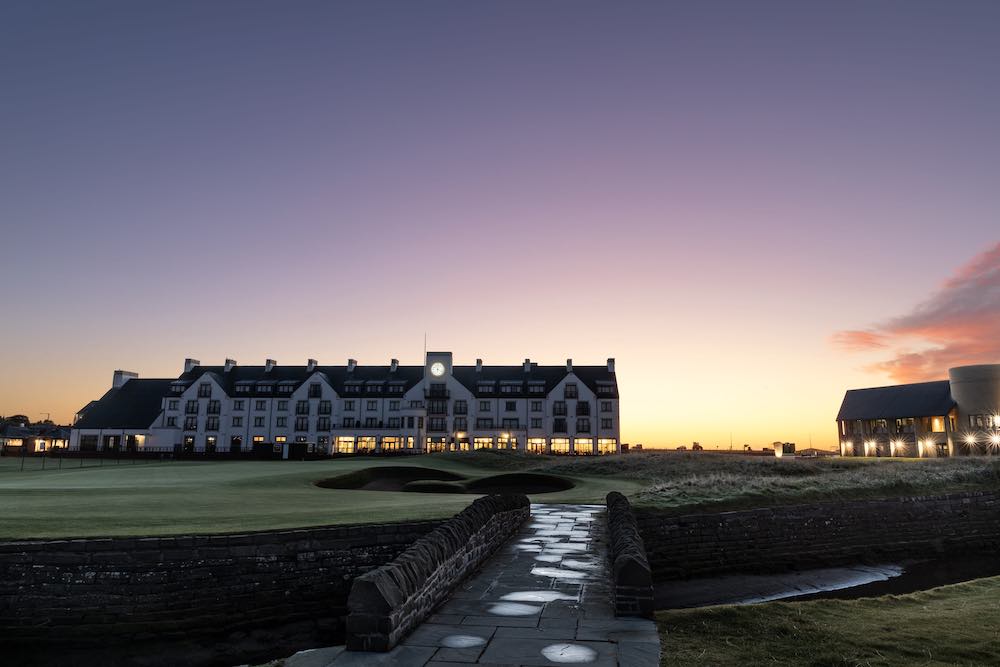
- The Image just before sunrise / just after sunset (f/11)
- A Blue Hour Image with good artificial lighting (f/11)
- The Star / Dark Sky Image (Optional) (f/2.8 – 4)
- A Sunrise / Sunset Image with starbursts (/f22)
- A Sunrise / Sunset image with flare removed (f/11)
- A Good Golden Hour image (f/11)
Now you are ready to start blending. Select all the layers, go to edit, auto-align layers, select auto, then OK. Photoshop will now align all the layers. If your camera moved during the shoot, then you may see a transparent edge in areas. Don’t worry about this as we can fix that later.
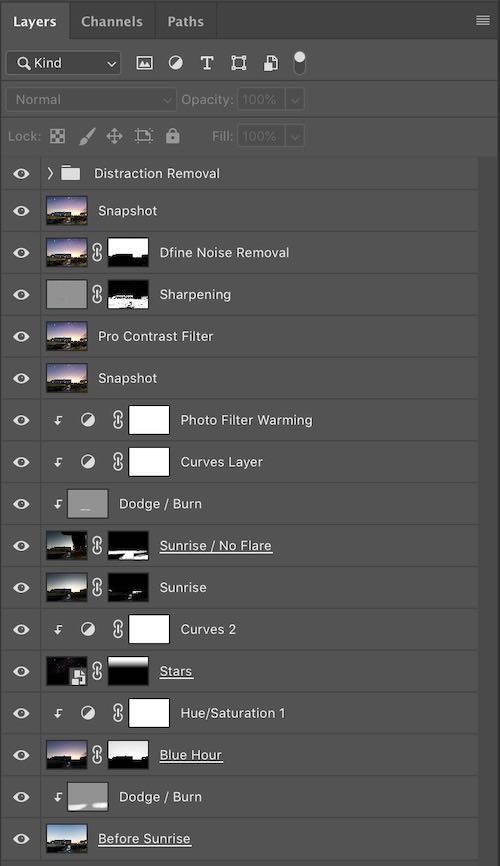
Now uncheck the eyeball (visibility) icon on all layers but the bottom one. This should be the image taken just before sunrise / just after sunset.
This image has no direct sunlight, so we need to bring up the shadows in areas. Create a blank new layer above the bottom layer (CMD-Shift N), select Overlay as the blend mode. Now check the box to fill it with 50% grey. This gives us a new Burn and Dodge layer. Select the Dodge tool from the toolbar and start going over the dark areas around your image with an exposure set to around 10%, this will lift the shadows. You can clip this layer to the bottom layer if you wish by Alt-Clicking between the new dodge/burn layer and the bottom layer. This will clip the changes just to that layer.
Now click the eye on your next layer in the stack (The blue hour image). Next, hit W on your keyboard or select the quick selection tool and select the sky. Go back and adjust your selection by using the alt key to reselect areas is deselected by mistake. Once you are happy with your choice, click the vector mask button at the bottom of the Layers panel. This looks like a white rectangle with a black square in the middle. This will add a lovely Blue Hour colour to our sky.
To make this sky pop a little, add a Hue/Saturation adjustment layer above this blue hour layer. Next, clip it to the layer below as before. Adjust the saturation in the oranges/blues to your liking.
Next, we are going to turn on the dark sky/stars layer. Once you have enabled it, set the blend mode to a lighten, screen or colour dodge mode and add a vector layer mask as before. Then hit G on your keyboard or select the gradient tool. Ensure your gradient is set to White -> Black and draw a gradient on your mask you just created. Use the shift key to keep a straight gradient and play around with the sized placement of the gradient to get your desired result. At this point, I add a curves adjustment layer and clip it to the stars and bring the stars out a little more.
Next up is the sun. Simply add the sun, then add a vector mask and with the mask selected hit CMD Delete and this will fill the mask with black. Now we are going to paint in the sun with a brush by hitting B on the keyboard or selecting the Brush tool. Using a low opacity and flow, start to brush back in the sun until it’s just right. If like me you have bright street lights, you can also brush back in the starbursts from them on this layer too.
Next up is the sun with your finger covering it to remove the sun flares. Enable the layer and again add a layer mask, fill it with black (CMD-Backspace) and select the brush tool again. As with before, go around and add that lovely colour to the image in places that need it such as the grass, ground, foreground, and buildings. In my case, I went around removing all the blue casted areas created by the blue hour and replaced them with lovely golden light. I added a small dodge and burn layer above this to bring up more of the shadows and add more punch to the image. This was also clipped to the layer. I also added a curves layer to lighten up the image and a warming (85) photo filter to give the warm feel of sunrise, both clipped as before to the sunrise layer.
At this point, it is all about cleaning, enhancing, sharpening and removing any noise. So I hit CMD-ALT-SHIFT-E which creates a new snapshot layer of all the blend so far.
I then applied a Pro Contrast filter from Nik effects. I also added a sharpening layer with a layer mask. Then I added a Nik Define layer to clean the noise from the sky using an inversion of the same layer mask. The rest was clean up and clone stamp removal of distractions.
All that is left now is to save and return to Lightroom to crop those edges and straighten the image if required.
Here is my layers panel to show you the layers and masks:
Gear required for the edit: A half-decent computer, a medium-sized graphics tablet and a large cup of coffee.
Summary
I hope you enjoyed this brief introduction on how I shoot my composite images. I use the same process every time I shoot them, and it almost always seems to work for me.
Now It’s your turn to get out there and practice the art of creating composite time blends. Be sure to let me know how you get on!

Leave a reply